The customers list
Find customers with search and filters, sort them, change many at once, and import or export them as a file.
Press Customers in the sidebar to see every customer in your store. Above the table, the list says how many customers it shows, such as 2 customers.
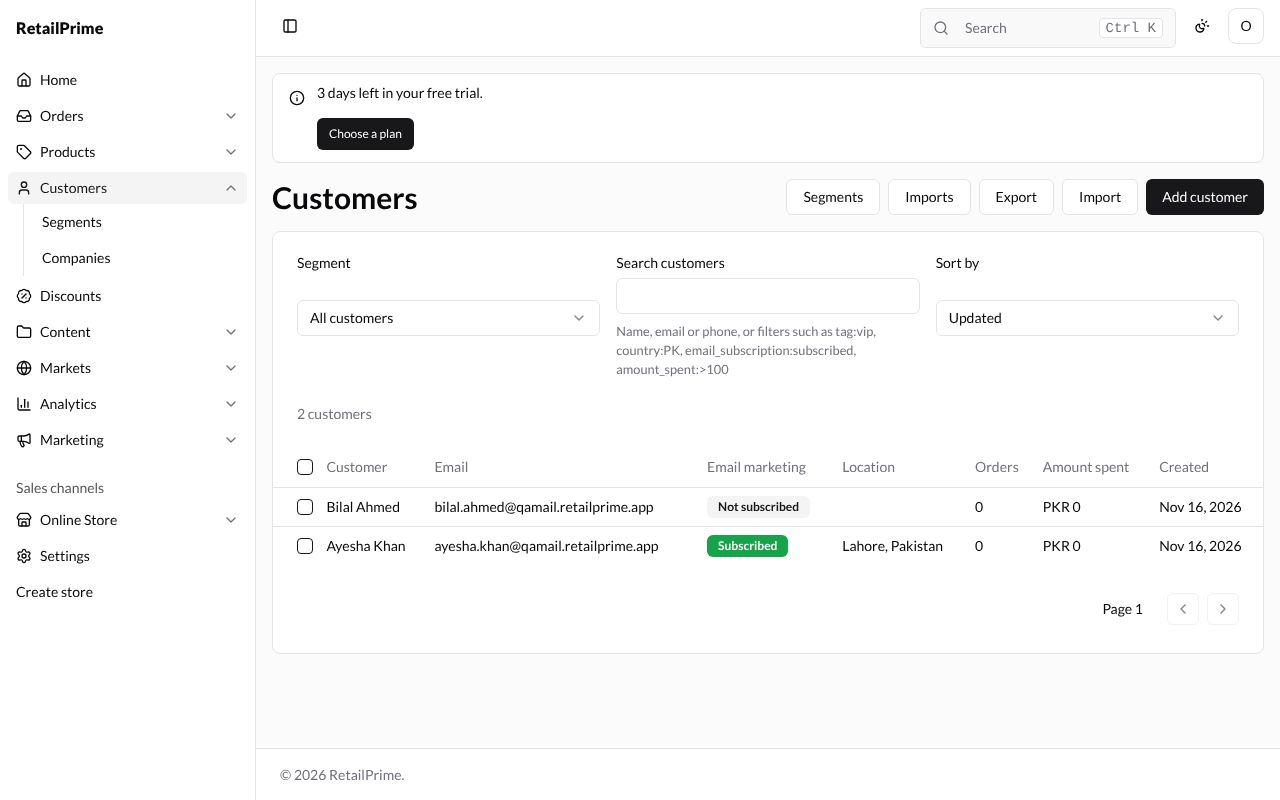
What the list shows
| Column | What it means |
|---|---|
| Customer | The customer’s name. Press it to open their page |
| Their email address | |
| Email marketing | Subscribed (green), Not subscribed or Unsubscribed |
| Location | The city and country of their default address |
| Orders | How many orders they placed (test orders are not counted) |
| Amount spent | What their orders came to, less refunds |
| Created | When they were added |
The buttons at the top right:
| Button | What it does |
|---|---|
| Segments | Opens your saved customer searches (see Segments) |
| Imports | Lists the CSV files you imported (below) |
| Export | Downloads customers as a file (below) |
| Import | Adds customers from a CSV file (below) |
| Add customer | Adds a customer (see Add and edit a customer) |
The list shows 50 customers a page. The arrows next to Page 1 go to the next and previous pages.
Search
Type in Search customers and press Enter on your keyboard. You can type a name, an email or a phone number, or a filter. The hint under the box gives examples:
| Type | To find |
|---|---|
tag:vip |
Customers with the tag vip |
country:PK |
Customers whose address is in Pakistan |
email_subscription:subscribed |
Customers subscribed to email marketing |
amount_spent:>100 |
Customers who spent more than 100 |
Put several filters one after the other to find customers that match them all. Here, tag:vip finds only Ayesha Khan, and the count says 1 customer:
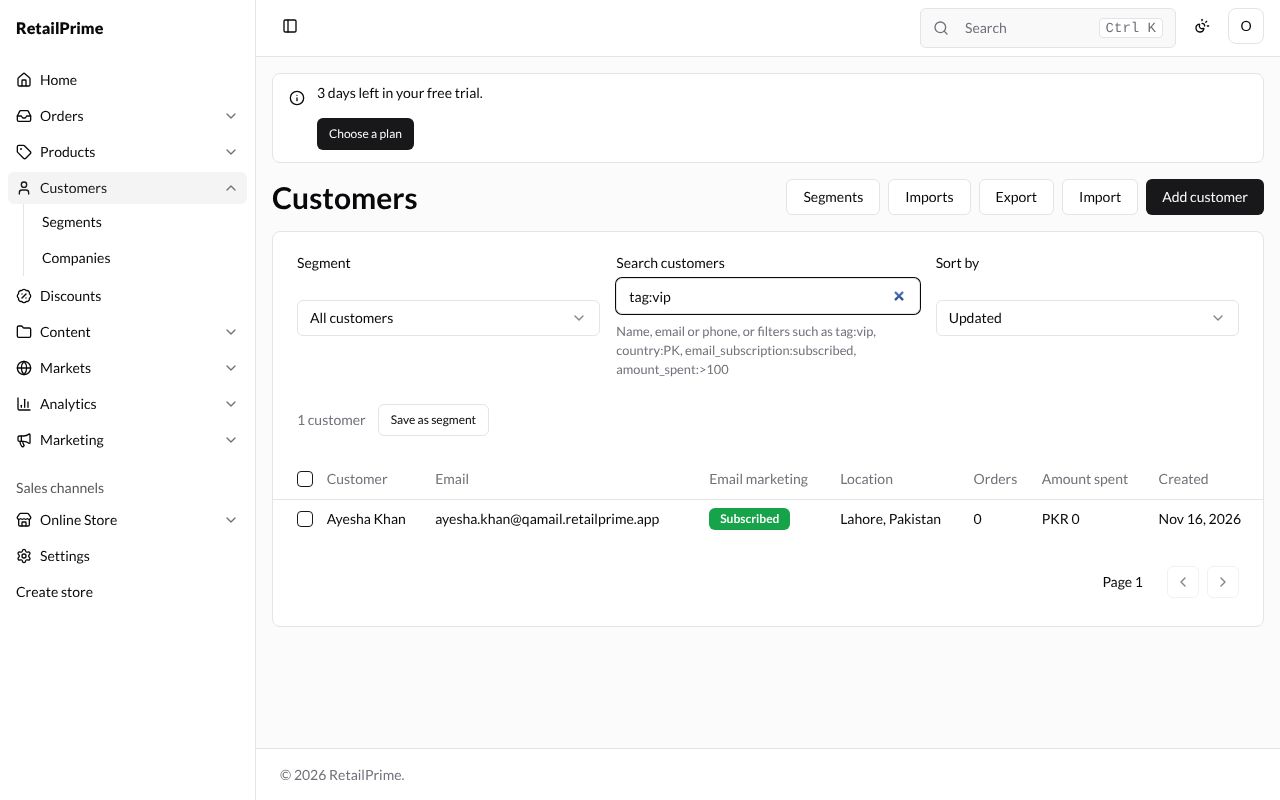
A Save as segment button appears next to the count: it keeps this search as a segment (see Segments).
When the search can’t be read, the box turns red and says why, such as Search query: unknown field “orders”. The list says No results.
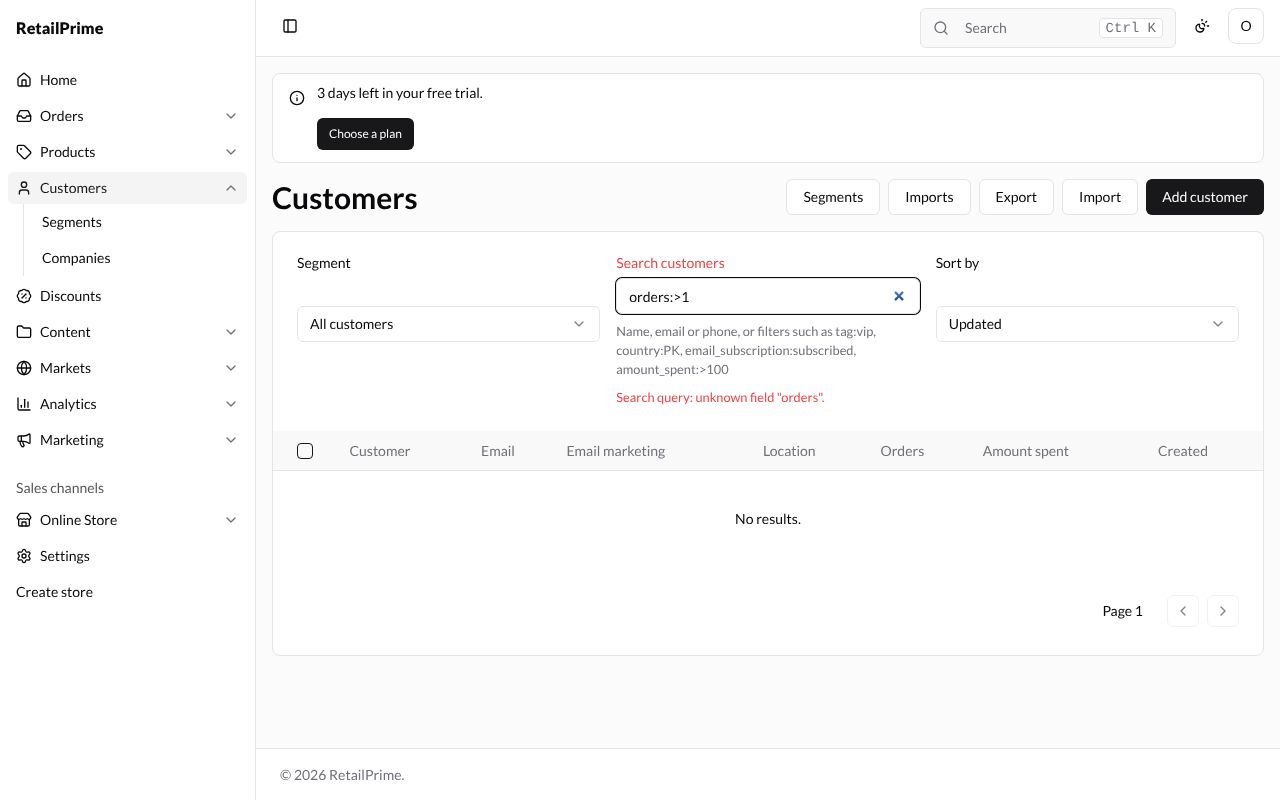
To see everyone again, empty the box and press Enter.
Sort
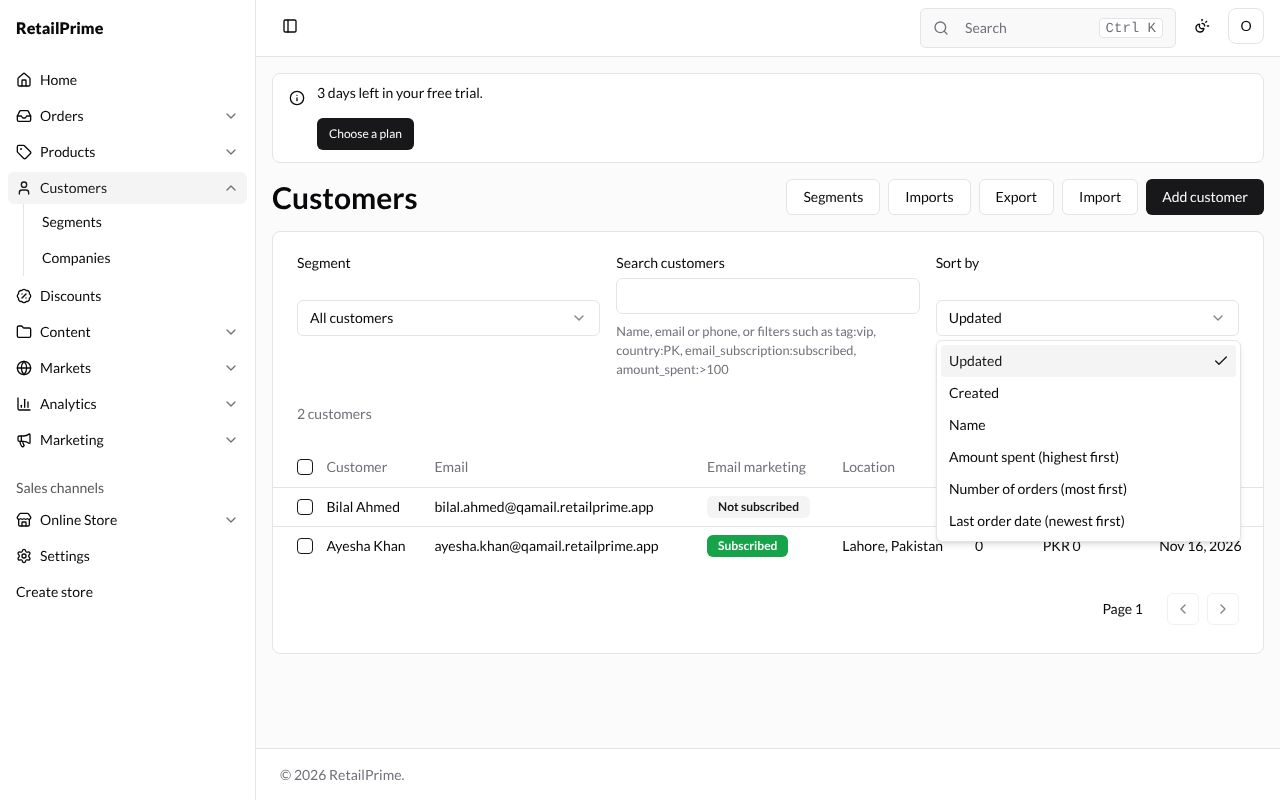
Press the box under Sort by and choose:
- Updated: the most recently changed first (this is where it starts);
- Created: the newest first;
- Name: A to Z;
- Amount spent (highest first);
- Number of orders (most first);
- Last order date (newest first).
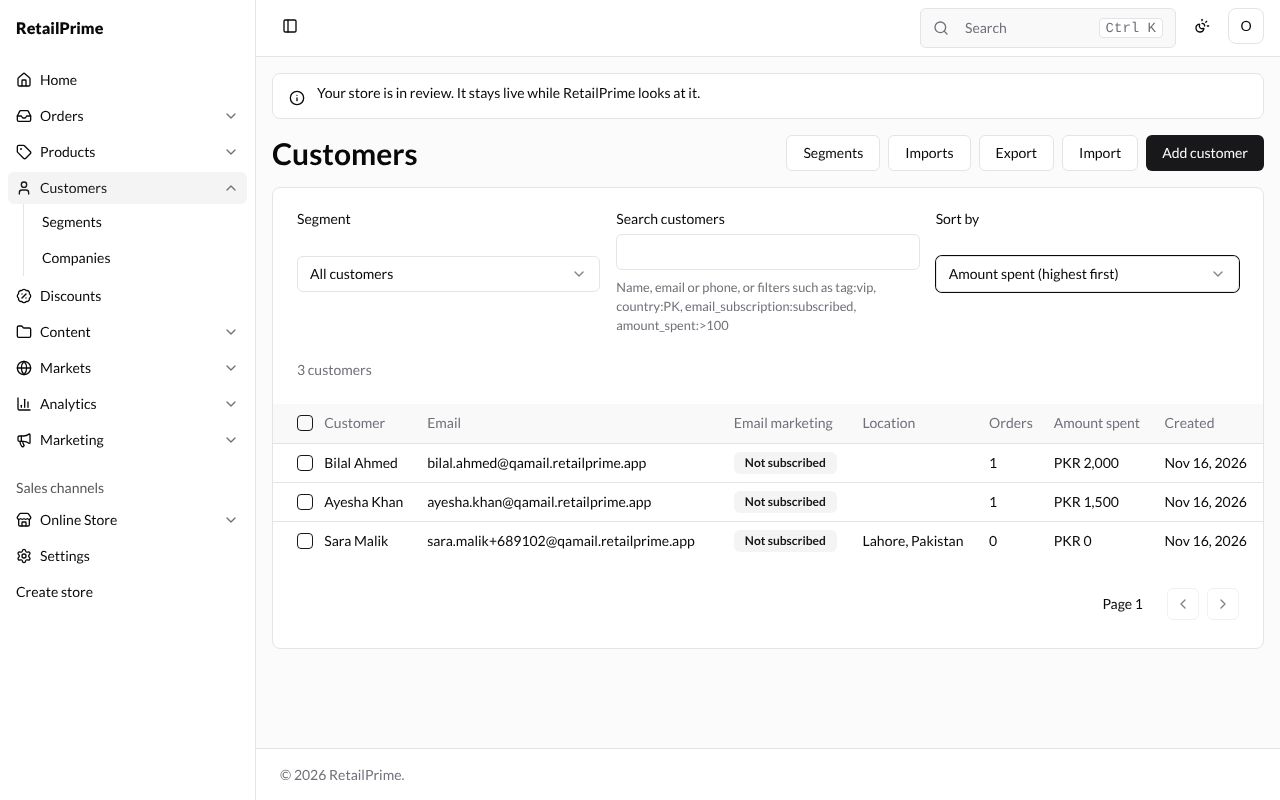
Here is a store with orders, sorted by Amount spent (highest first):
Change many customers at once
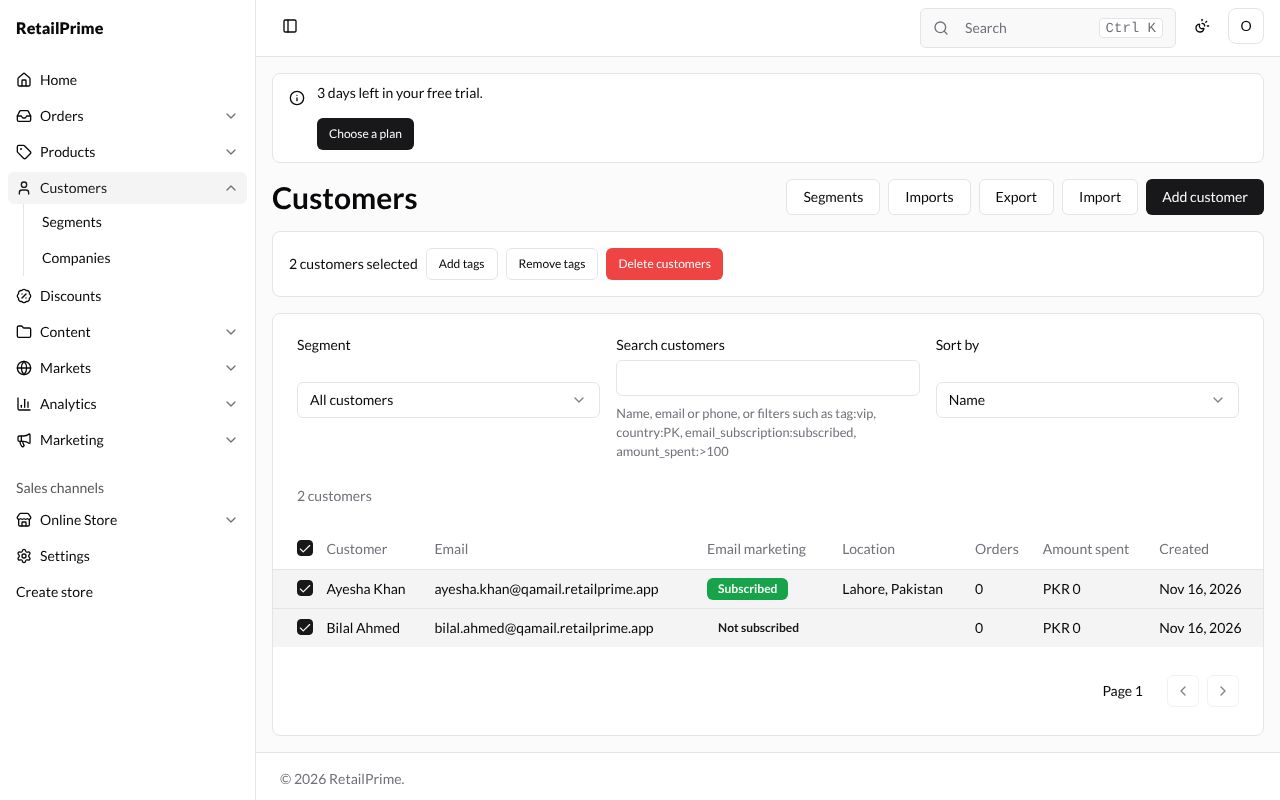
- Tick the box at the start of each customer you want. The box in the heading row ticks everyone on the page.
- A bar appears above the list, saying how many you chose, such as 2 customers selected, with the buttons Add tags, Remove tags and Delete customers.
Add or remove tags
- Press Add tags.
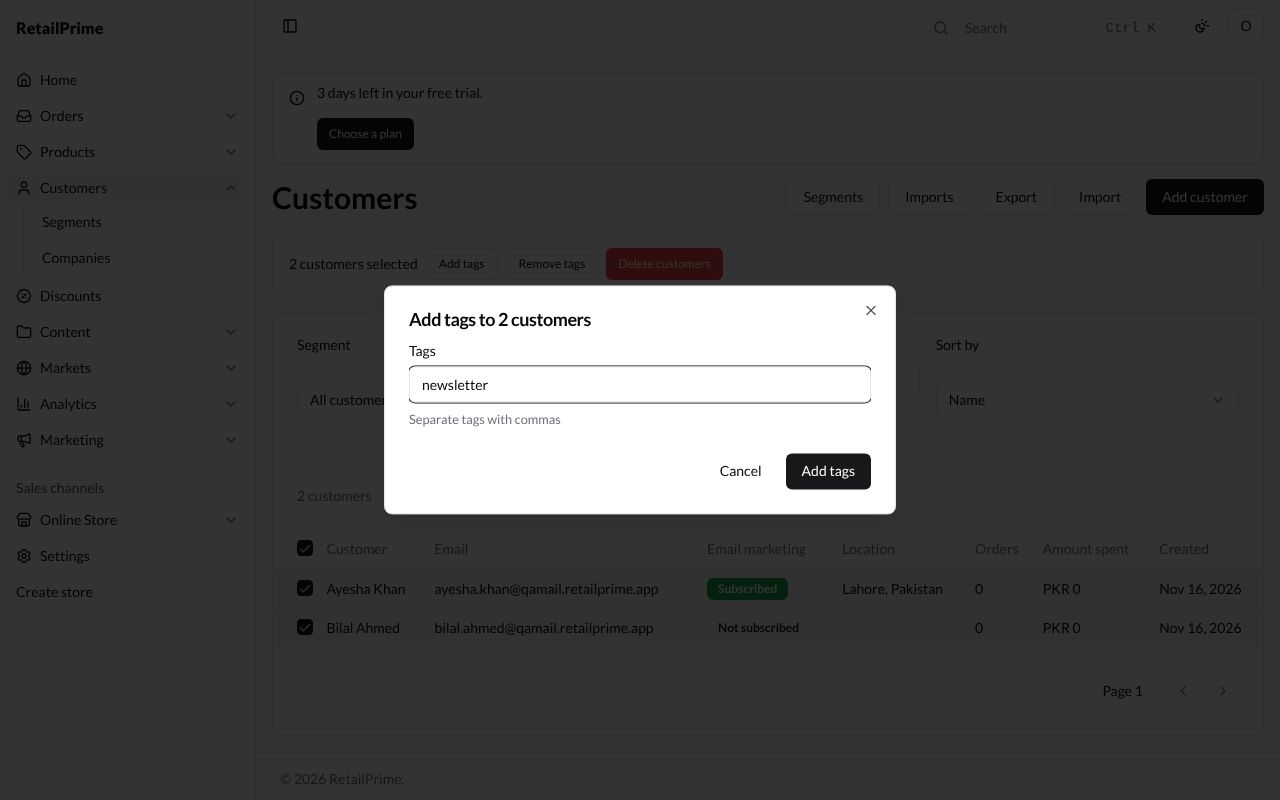
- A box opens: Add tags to 2 customers. Type the tags in Tags, separated by commas, such as
newsletter. - Press Add tags. The list says Tags added to 2 customers.
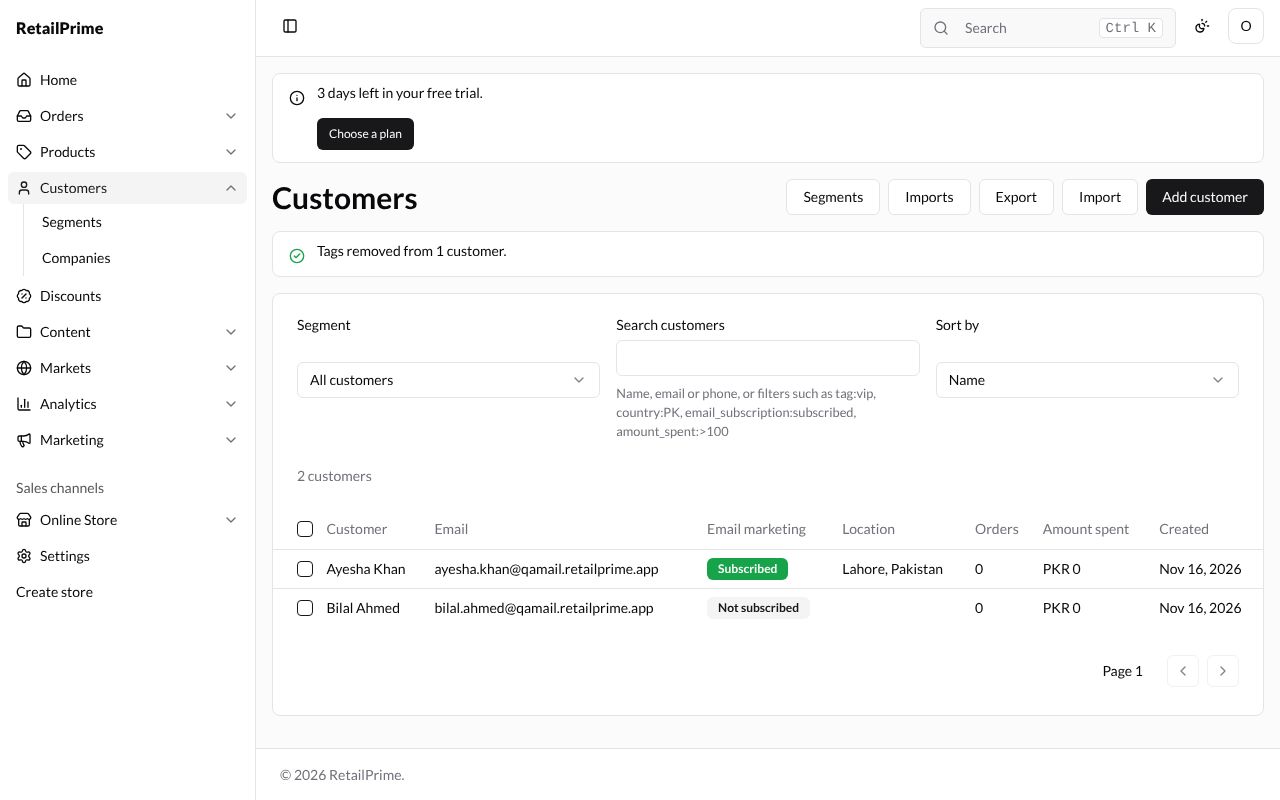
Remove tags works the same way: type the tags to take off and press Remove tags. The list says, for example, Tags removed from 1 customer.
Delete customers
- Tick the customers and press Delete customers (the red button).
- A box asks, for example, Delete 1 customer? It says customers with orders can’t be deleted, and when any of them has orders, none is deleted. This cannot be undone.
- Press Delete customers, or Keep to change your mind.
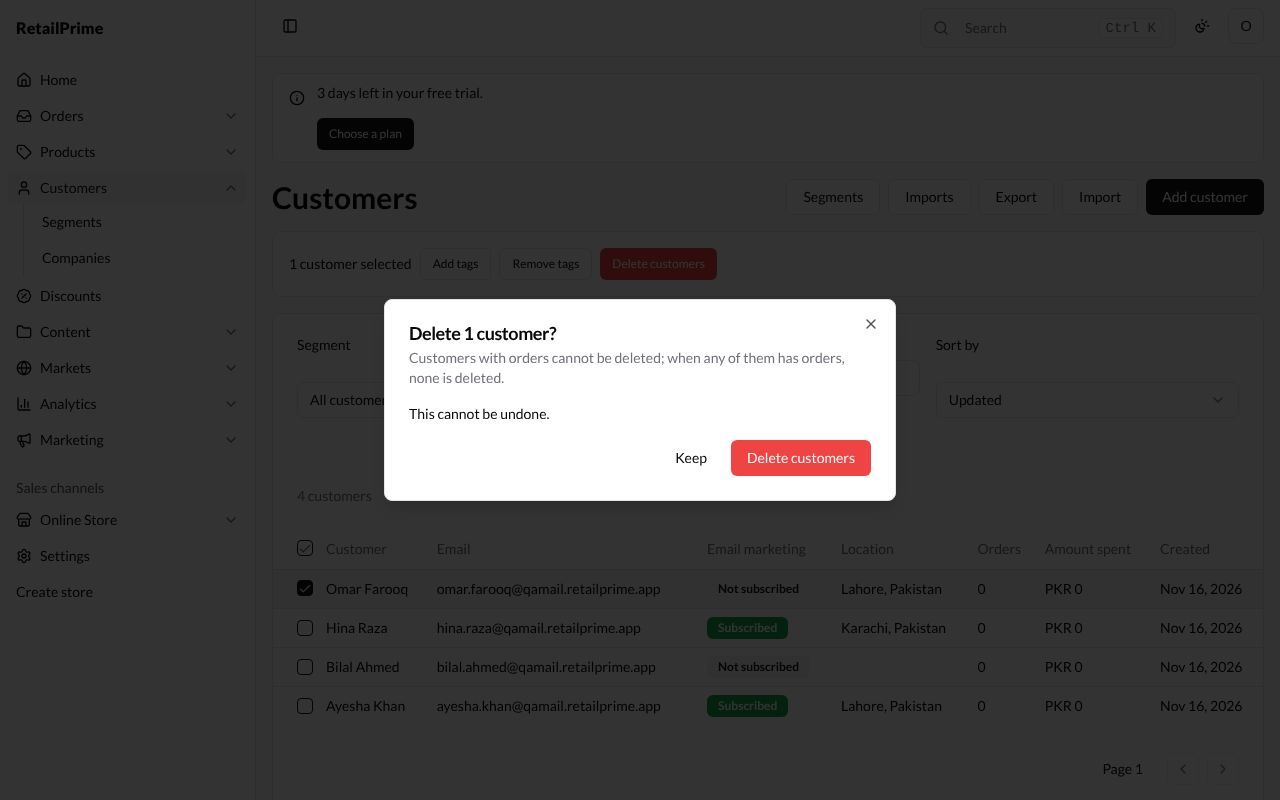
The list says 1 customer deleted.
Export customers
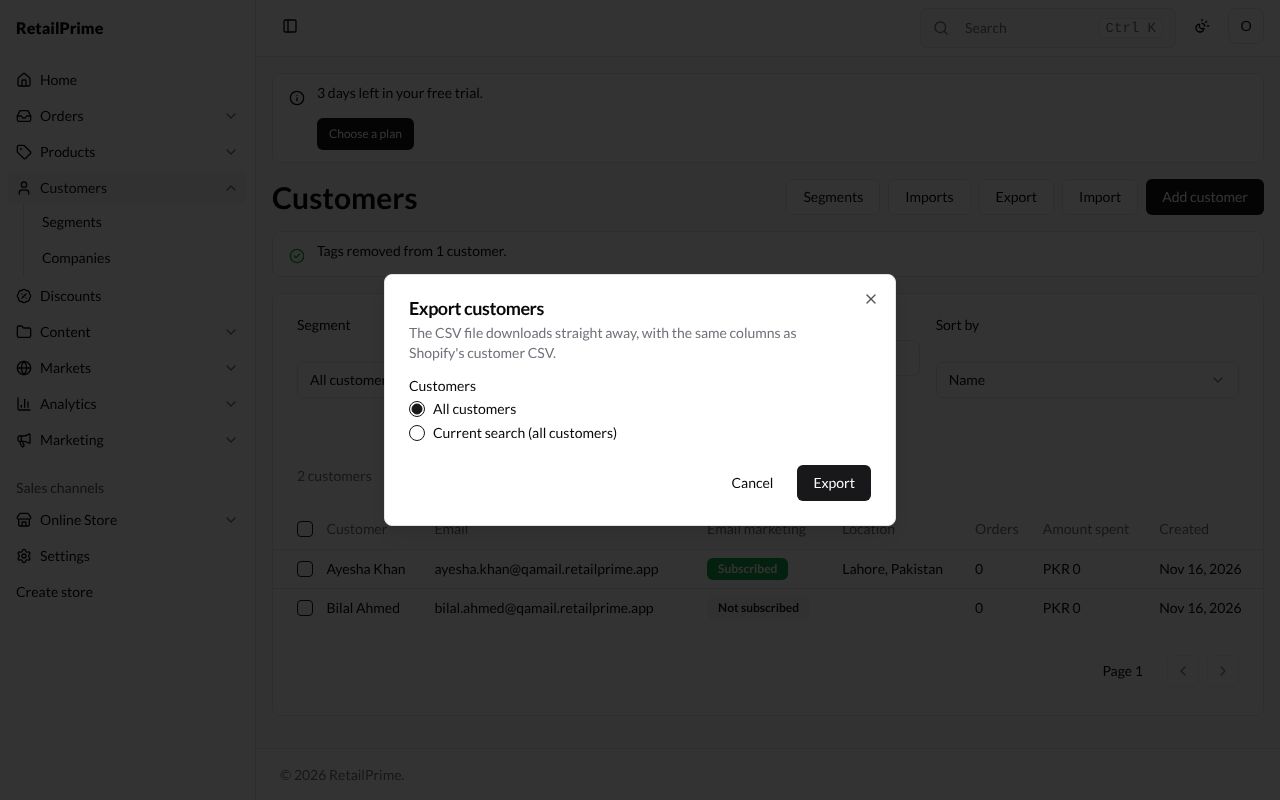
- Press Export at the top right.
- The Export customers box says the CSV file downloads straight away, with the same columns as Shopify’s customer CSV.
- Under Customers, choose which ones:
- All customers;
- Current search: the customers the list shows now (with a segment chosen, it names the segment);
- Selected: the customers you ticked (only when you ticked some).
- Press Export. The file
customers_export.csvdownloads.
Import customers
You can add many customers at once from a CSV file, such as one exported from Shopify.
- Press Import at the top right.
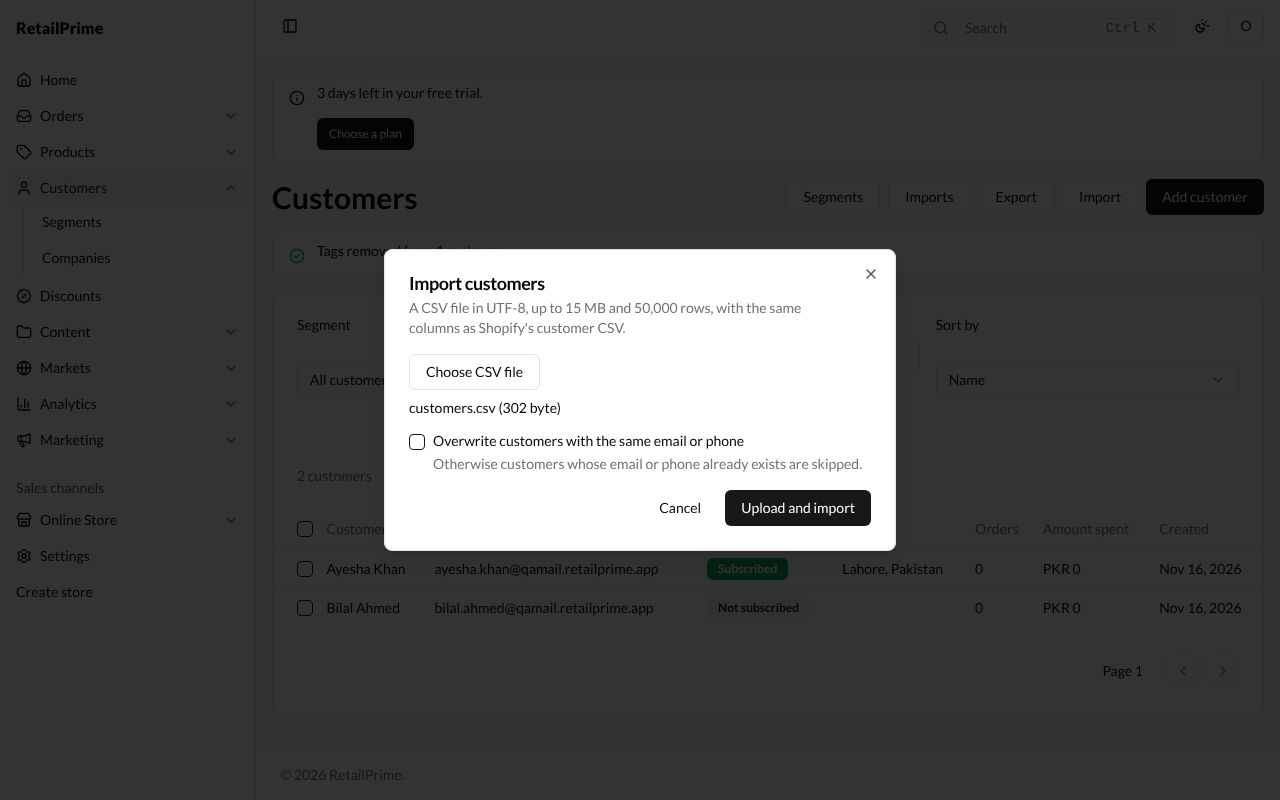
- The Import customers box says the file must be a CSV file in UTF-8, up to 15 MB and 50,000 rows, with the same columns as Shopify’s customer CSV.
- Press Choose CSV file and pick the file. Its name and size appear under the button.
- Tick Overwrite customers with the same email or phone to update customers you already have. Leave it empty to skip them.
- Press Upload and import.
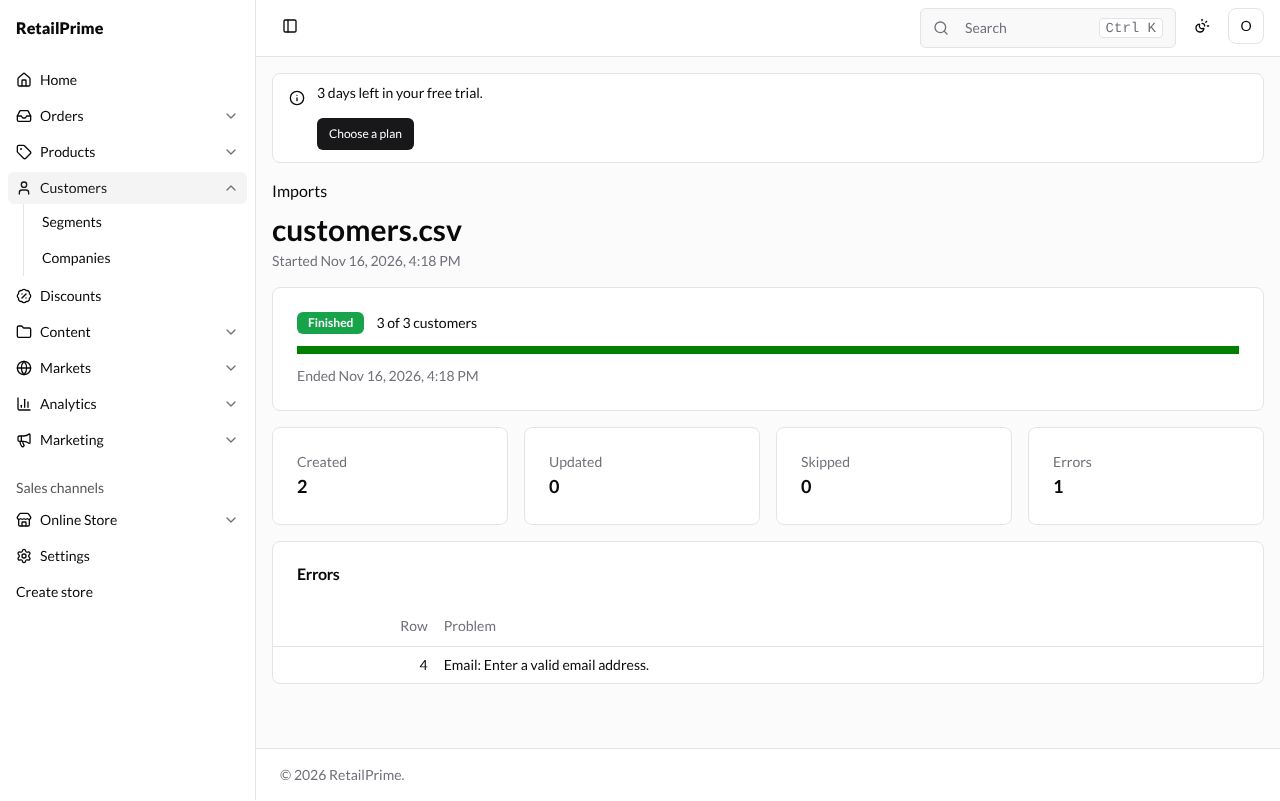
The import’s page opens. It shows Finished when it is done, how many customers were read, and how many were Created, Updated and Skipped, and the Errors. Each row with a problem is listed with its row number, such as Email: Enter a valid email address.
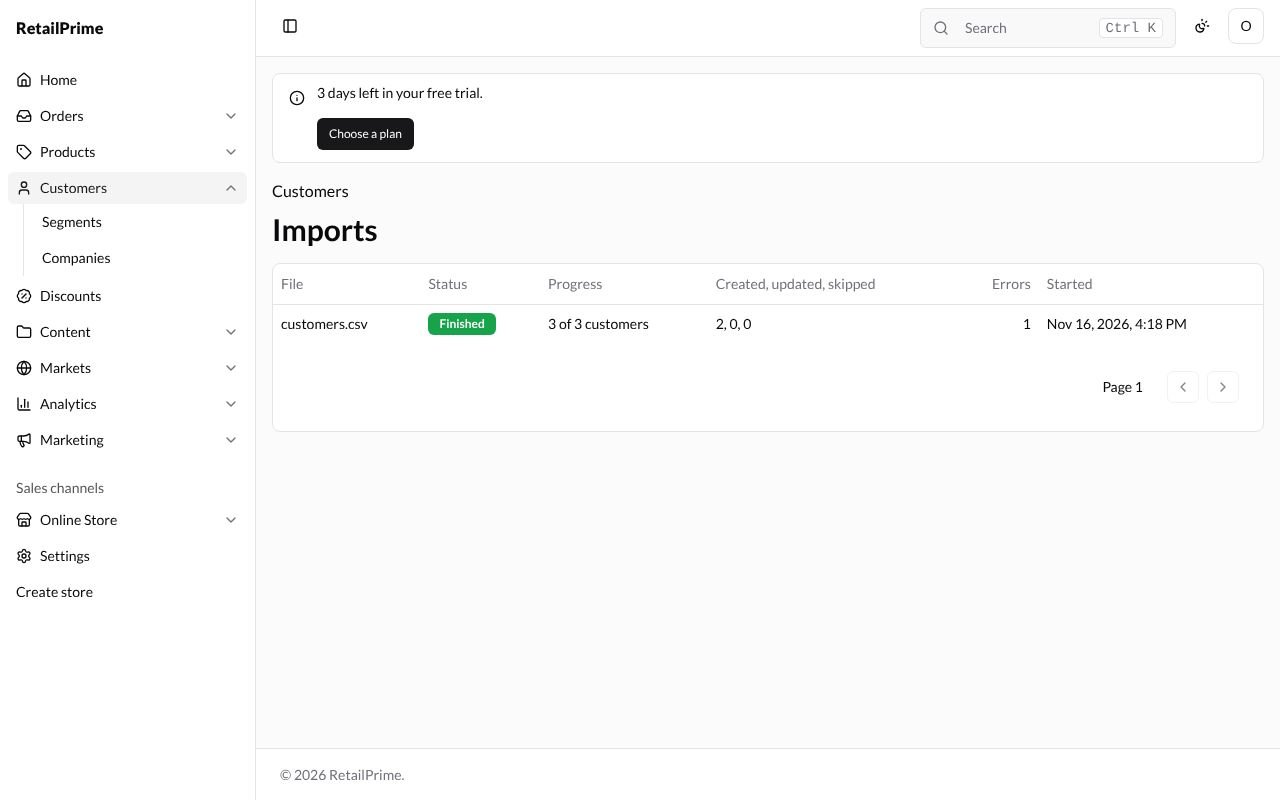
Press Imports above the file name (or the Imports button on the customers list) to see every customer import with its Status, Progress, how many were Created, updated, skipped, its Errors and when it Started.
What’s next
Segments: save a search and keep it up to date.